Geography: This article is applicable for ANZ Transactive – Global customers banking in Australia, Hong Kong, India, New Zealand, the Philippines, Singapore and Vietnam.
Full details are available in Features by Geography.
Full details are available in Features by Geography.
Company Administrators must complete Know Your Customer (KYC) requirements for each geography you operate in and log in with a security device to perform administration tasks.
- The final approver in any panel sequence and order, must use a security device to digitally sign the payment or direct debit request for processing.
- It is a requirement that security device approvers must have Know Your Customer (KYC) information registered with ANZ to approve payments and direct debits.
For more information, please refer to Digital Services Security Features.
About Authorisation Panels
Panel approval allows your organisation to setup threshold amounts and up to six approver sequences, for your payments and direct debit requests. You can also create account rules if your organisation needs restrictions on who can approve based on the funding account.
A Panel can be as simple or as complex as is required. It can contain one or more thresholds, and each threshold can contain one or more sequences of approvers. For more information, please refer to Authorisation Panels.
Authorisation Panel screen
Create Authorisation Panel
There are three steps to implement a panel:
- Create the Authorisation Panel - see below
- Assign the Panel to one or more payment or direct debit products in the Authorisation Matrix
- Edit a user's Authorisation Group
To create a new panel, follow the steps below:
| STEP | ACTION | ||||||
|---|---|---|---|---|---|---|---|
| 1 | Click Administration > Other Settings menu. | ||||||
| 2 | Click New in the Authorisation Panels section. | ||||||
| 3 | Enter a Panel Name up to 40 characters. | ||||||
| 4 | Select a Panel Currency. | ||||||
| 5 | Enter a Panel Description up to 40 characters. | ||||||
| 6 | Choose the accounts to apply to the panel rules:
|
||||||
| 7 | Enter the Max Threshold Amount. If this is unlimited, add all 9’s. | ||||||
| 8 | Add the Authorisation Groups by selecting a letter between A-J, R(Releaser), V(Verifier) for up to six approvers in a sequence. This authorisation group will then be assigned to approvers. | ||||||
| 9 | Select the Order of the sequence.
|
||||||
| 10 | If required, click Add Sequence to add additional sequences for the Threshold Amount. | ||||||
| 11 | If required, click Add New Threshold to add additional threshold maximum amounts for the panel rule, including authorisation groups and order. | ||||||
| 12 | Click Submit.
RESULT: The result will be dependent on your organisation's Administration Model:
|
Errors and Alerts
Error and alert messages such as 'fields validations' display information about the impacted field(s) and highlights the field(s) in red. You can update the information within the impacted field(s) and continue processing.

Mandatory field validations:
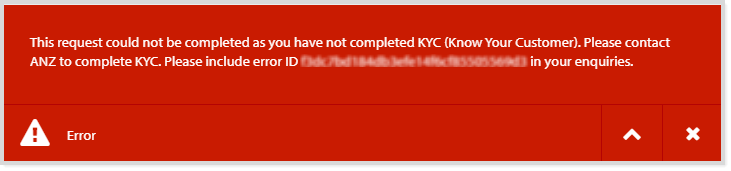
Know Your Customer validation:
Company Administrators need to provide additional Know Your Customer (KYC) documents to meet regional regulations for all geographies you operate in. Please contact ANZ to complete the KYC process.Next Steps:
When the Authorisation Panel has been successfully created and approved, you can assign the panel to:
- Assign the Panel to one or more payment or direct debit products in the Authorisation Matrix.
- Assign the Authorisation Group to approvers.